Lets talk cloud
One of the beautiful things about the cloud, particularly Azure in this case, is that you can deploy app environments in a matter of minutes!! And better yet you don’t have to maintain physical hardware systems. So say “auf wiedersehen” to managing drive failures and say “hello there” to secure and reliable applications.

So why Azure Function Apps??
Azure Function Apps provide you the ability to quickly and easily scale your APIs or apps and are built upon a serverless environment. This means you don’t have to maintain a server and setup the various connectors between the server and your app. Another powerful ability that Function Apps provide are the various trigger and binding options. This means you don’t have to code out the logic for things like listening for HTTP calls or triggering from event queues. Some options of triggers are:
- HTTP
- Timer
- IoT Hub
- Queue storage
- Table storage
If you’re interested in reading more about what Azure Function Apps has to offer for triggers, check out the documentation provided by Microsoft: Azure Functions triggers and bindings concepts. The thing to be aware of is that Function Apps are generally stateless, which means triggers are independent of each other. There are ways to introduce state into your app, see Durable Azure Functions, but in general your app should be stateless. Leave a comment below if you would like me to do a post on Durable Azure Functions. 😁
Design time
For our particular case we are going to be using the HTTP trigger for our Function App, which will provide us the ability to make various REST calls to our app. In our case we are going to be building a simple little app that allows us to make GET and POST calls and then return back a JSON object.

Oooh, I think it’s time to start coding
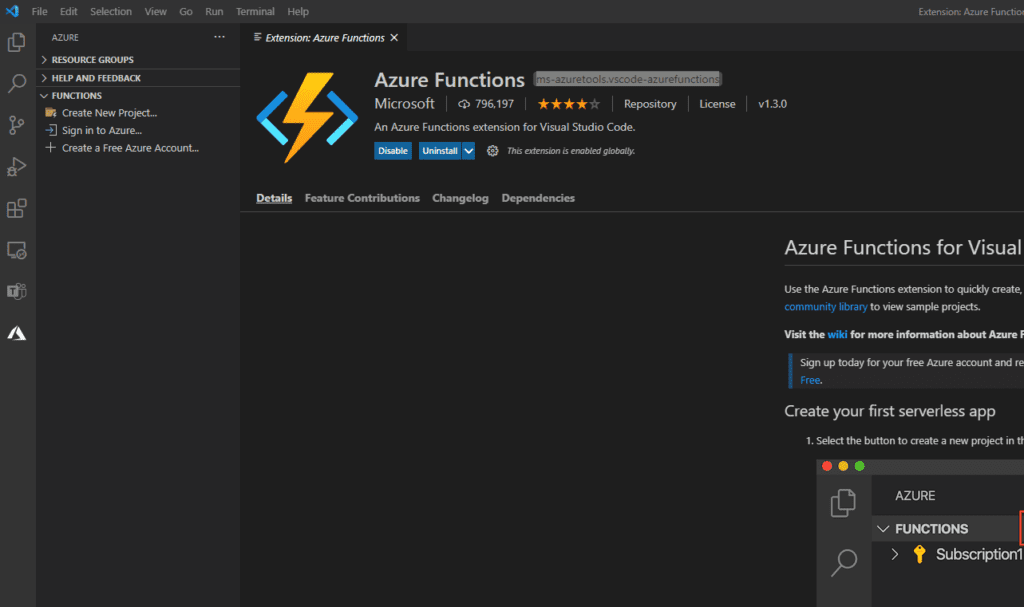
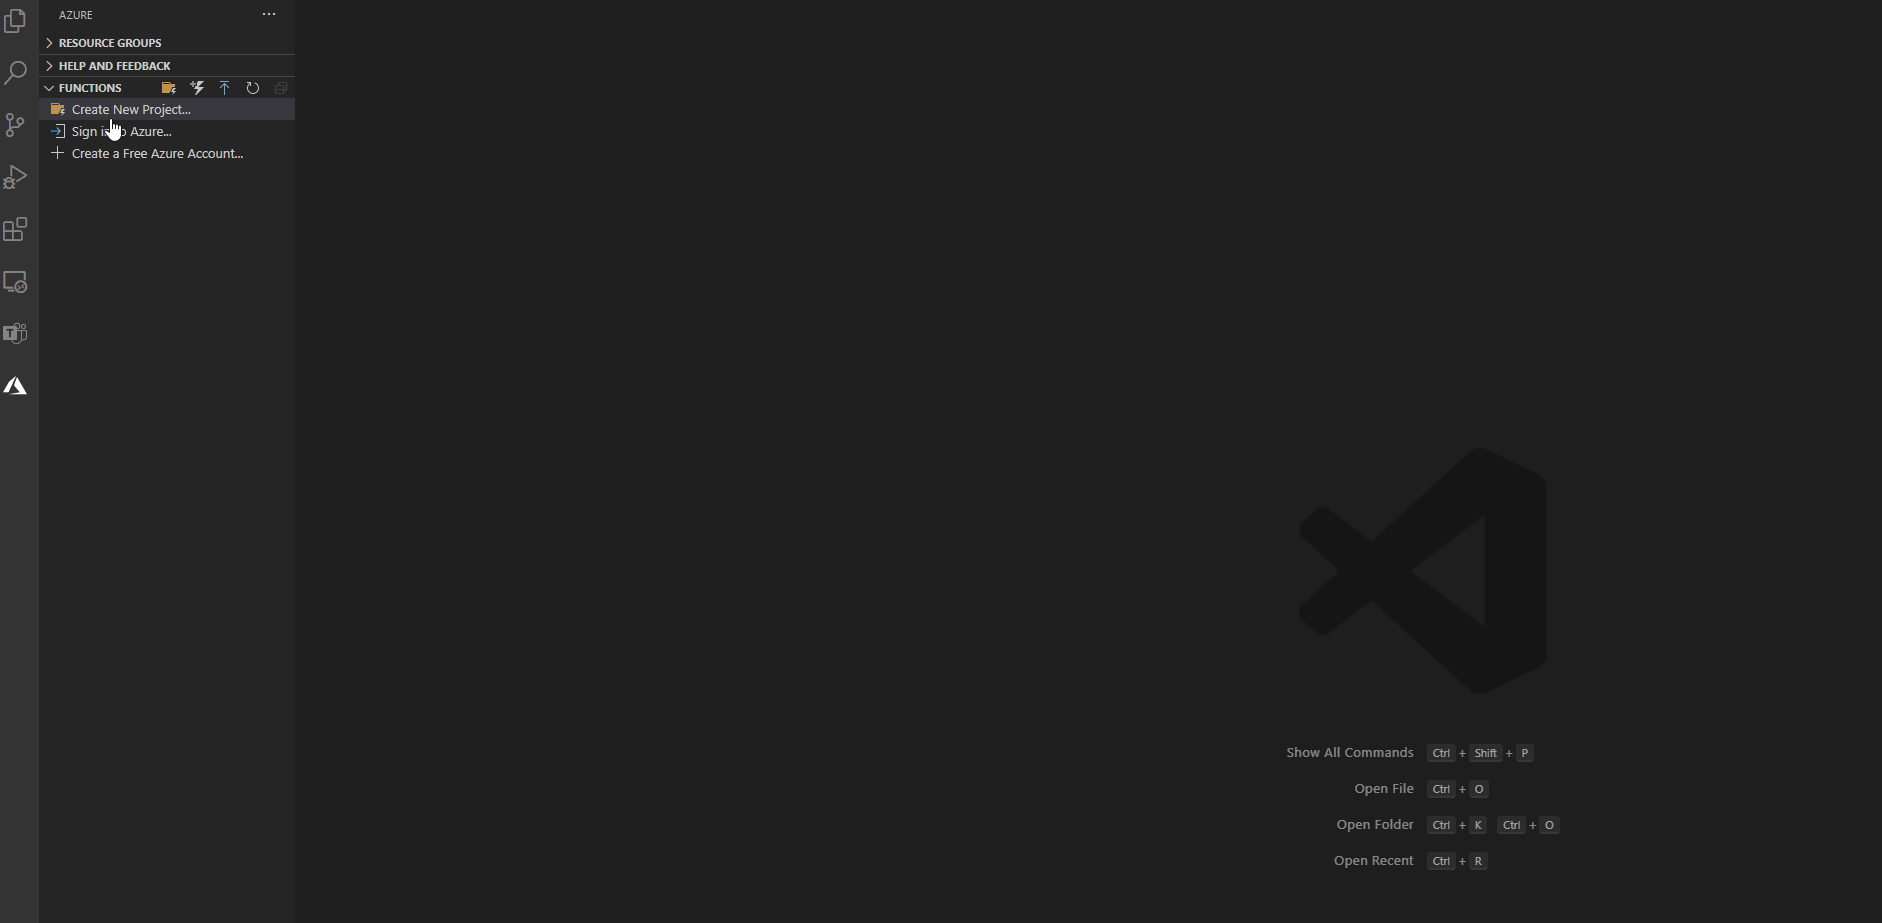
To make this simple, I am going to be using Visual Studio Code since it’s accessible to everyone and is widely compatible across various devices and operating systems. First off, launch VS Code. Once you’ve launched VS Code, go ahead and install the Azure Functions extension. Hint: To install an extension, click on the extension icon (four squares) in the app bar (or rail) on the left or simply use the shortcut key Ctrl + Shift + X (Windows/Linux) or Shift + Cmd + X (macOS). This extension helps create our Azure Function project and also helps us deploy it to Azure. Once you’ve installed the Azure Function extension, you will notice a little Azure logo on the left-hand app bar. If you click it you will notice some options to “Create New Project…” and “Sign in to Azure…”.
Select the “Create New Project…” button in the Azure Functions extension. You will then be walked through a series of steps to create your project.
- Select the project root folder
- Select your language -> C#
- Select a .NET runtime -> .NET Core 3 LTS
- Select a template for your project’s first function -> HttpTrigger
- Provide a function name -> AzFuncApi (you can name your project whatever you want)
- Provide a namespace -> (add your own namespace here)
- AccessRights -> Function
- Select how you would like to open your project -> Open in current window
And just like that, you’ve created your first Azure Function Http Trigger! Congrats! The first thing you will notice is that there are a few files generated in the folder, the main most important file being the .cs file, in my case called AzFuncApi.cs. If you open this file (it might open automatically after creating the function) you will notice that Microsoft is nice enough to include some sample code for us to get started. The sample code provided should look something similar to what I’ve pasted below.
[FunctionName("AzFuncApi")]
        public static async Task<IActionResult> Run(
            [HttpTrigger(AuthorizationLevel.Function, "get", "post", Route = null)] HttpRequest req,
            ILogger log)
        {
            log.LogInformation("C# HTTP trigger function processed a request.");

            string name = req.Query["name"];

            string requestBody = await new StreamReader(req.Body).ReadToEndAsync();
            dynamic data = JsonConvert.DeserializeObject(requestBody);
            name = name ?? data?.name;

            string responseMessage = string.IsNullOrEmpty(name)
                ? "This HTTP triggered function executed successfully. Pass a name in the query string or in the request body for a personalized response."
                : $"Hello, {name}. This HTTP triggered function executed successfully.";

            return new OkObjectResult(responseMessage);
        }
Alright, so if you’re looking at this method and thinking to yourself “what the heck is going on here”, fear not! I am here to help break this puppy down for you.
Function Name
The first area we will inspect with our magnifying glass is the function name. The function name is what you will use as a call to your API. For example, if you Azure Function is hosted at www.thebestfunctiononline.azurewebsites.net then to access your function you will call http://www.thebestfunctiononline.azurewebsites.net/api/AzFuncApi. And of course, this string value can be changed to whatever you would like by adjusting the string name.
Method Name
In the provided code, the method name is Run. This name can also be changed to your liking and won’t appear for the end user (the person calling the API) as they will only need the URL with the function name.
Trigger Type
Since in our example we decided to do a HTTP style trigger for our Azure Function, we pass the HttpTrigger attribute to the function as an array. Inside the HttpTrigger attribute, we define the authorization level (in my case I’ve defined the authorization method as function, the methods (“get”,”post”), and the route=null.
Authorization Level
Authorization level allows you to protect your API with an API key. There are three main types of authorization levels:
- Anonymous – No API required (anyone can call your API without a key).
- Authorization scopes – An API key is required to call the functions, with two options provided:
- Function – Provide a key per function.
- Host – Provide a key for a host scope, which means you can provide access to all functions with one key.
- Master key – This is an admin level style key. This provides the end-user host-level access and admin access to the runtime REST APIs.
In our case we will stick with the function authorization scope. In general you should be using the function or host authorization scopes for your functions. An example case where you might be using anonymous access to your function(s) is if you provide free public access to an API. I would still shy away from providing anonymous access in this case and instead provide a free key, that way you can have a better way of tracking and governance over your functions.
Methods
The methods are an array of Http methods. If you leave this area blank, your function will accept all Http methods, however if you define the Http methods, only those methods will be accepted by your Azure Function. The our case our function only accepts GET and POST requests.
Route
By default the route of the API is set to null which means your function will be addressable with a URL like http://<appName>.azurewebsites.net/api/<functionName>. If you want to change the route, you can do so here by adding a route like “documents/{type:alpha}/{id:int?}” which would change our addressable URL to look something like http://<appName>.azurewebsites.net/api/documents/jpeg/10221.
Http Request
This class allows you to be able to get things like the body, query, headers, cookies and a lot more. You’ll notice that on the second line of code provided, just after the log, there is a string called “name” that is set to req.Query[“name”] which means you can add a query to your API call and get it by looking it up in the Query getter collection.
Example API call with query: http://.azurewebsites.net/api/documents/jpeg/10221?Size=small
The query in the example being “Size” and the value of size being small. So to get that query in our code you would say req.Query[“Size”] and in this case we would get a string value of “small” returned. That easy!
You will also notice that the next three lines after this get the request body and deserialized them using a neat and very popular library called Newtonsoft.Json. If you aren’t aware of deserializing, it basically takes the JSON string that you send to your function and converts it into an object. For example, lets say I would like to send a JSON string like so:
{
   "documentName":"Testing123.jpeg"
}
So in this case if you deserialized the above JSON with our provided code you would be able to get that document name by setting our string variable like documentName = data.documentName. In the example, they use the null coalescing operator (??) to check if the query name is null then name = name (the string variable name from our query) and if it is null then it grabs the name value from the dynamic object data.
ILogger
This interface provides the ability for you to perform logging in your function. You will notice that the first line in your function is a log:
log.LogInformation("C# HTTP trigger function processed a request.");Using logs is a great way to help debug your functions.
Response Message
Finally, we create our string response message that we want to return back to the end user. In the return we create a new OkObjectResult with our response message which will return a response message with code 200 avec our message.
Wrap it up!
Hope you found this informative. This first article is just a brief introduction in how to use and develop your first Azure Function Http trigger (API). Check out my next article on how to create a Weather API using Azure Function Apps, where we build upon what we learned here.
I also plan to do a write-up on how to create a Power Platform custom connector with our API. That way you can easily use your new Azure Function API in things like Power Automate flows or Power Apps.
Until next time! ✌️