What is Windows Sandbox and how do I get it?
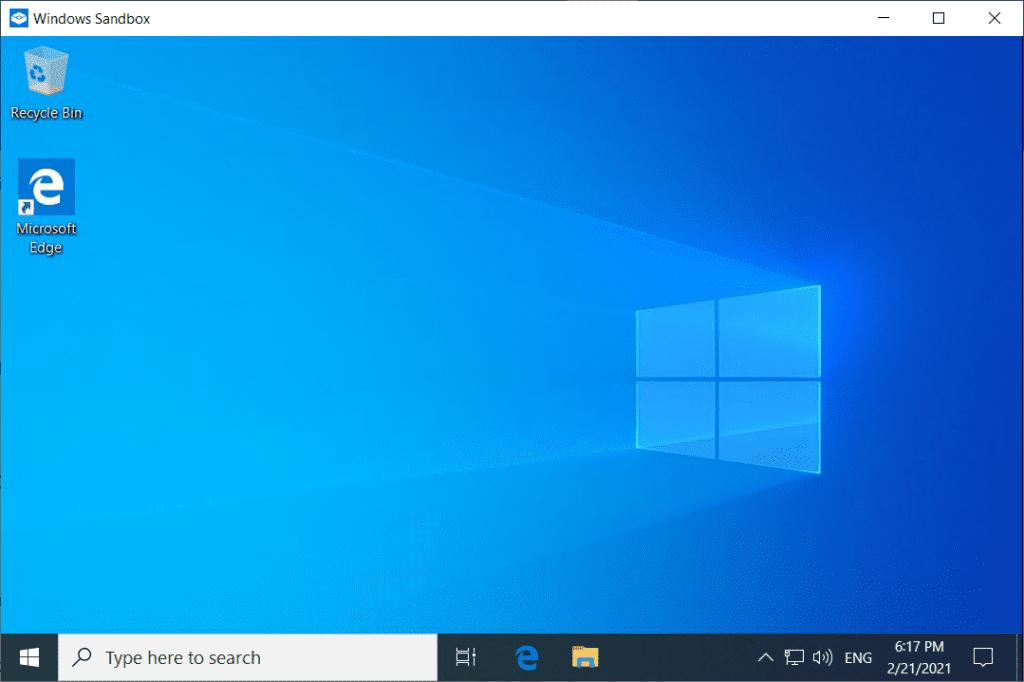
Windows Sandbox was released in an update for Windows 10 in May of 2019 (version 1903) for Windows 10 Pro, Enterprise, and Education editions. Unfortunately if you have Windows 10 Home, you won’t be able to use Windows Sandbox (sad face). So what exactly is Windows Sandbox? Windows Sandbox is a lightweight virtual machine that runs on the same operating system image that your machine runs on.
So what makes Windows Sandbox different from other VMs?
First off, Windows Sandbox is a temporary environment, which means every time you launch Windows Sandbox you are presented with a brand-new fresh environment. You should also be aware that anything you store on the Sandbox environment will be permanently deleted (unless you have mapped folders), so make sure you backup everything you want to keep before closing the Sandbox.
Why should I use Windows Sandbox?
There are probably endless scenarios where you could use Windows Sandbox. One area I use Sandbox environments is to create a fresh development environment. The beauty behind the Windows Sandbox environment is that it isn’t touching your current environment. So if you end up messing up the environment all you simply have to do is close the the sandbox and relaunch a new instance of it.
Be wary of using Windows Sandbox as an environment to test/play with malware. The Sandbox does have access to your internal network so malware could wreak havoc from a network perspective.
Using Windows Sandbox in my everyday work life
I’ve known about Windows Sandbox for a while now, but haven’t really come across a use case for it in my day-to-day work life until one of my colleagues pointed out that he was using a sandbox instance for certain clients to do his development. After that conversation I started introducing it for certain client projects.
Sounds great, but having to setup an environment every time is counter productive no?
That’s true! Its great to have a clean environment every time you launch the Sandbox instance, but that’s also a con as it is like having a clean base install of Windows 10. It’s a blank canvas. Well, luckily for us, Microsoft thought about this and created the ability to configure your environment using a configuration file. Sandbox configuration files are XML formatted files with the file extension .wsb. Once you’ve created the wsb file, all you have to do is run it like an app and it launches your environment with the configurations.
If you are interested in diving into the Microsoft docs on this, check out Windows Sandbox configuration. One thing to point out is the documentation isn’t great, so do expect to do some Googling to view some samples that people have out in the wild.
A sample configuration file
To help you get started on building your own configuration file, I thought it would be helpful to share with you a sample configuration file of my own that I use for clients. I modify it slightly from client-to-client, but the overall structure tends to be quite similar. The first major keyword I use is MappedFolder, which allows me to access folders via my sandbox environment. In my case I set my mapped folders to read-only to prevent any write access to the directory. I also specify where I want my mapped folders to exist; in my case I tend to toss them on the sandbox desktop for ease of access.
The major line in my configuration file is using the keyword LogonCommand which allows me to run a PowerShell script. For this particular environment, I want to install Firefox, Microsoft Teams, Visual Studio Code, and Notepad++. In my particular example I have the .exe installers already installed in a mapped folder so my script can access them. You can setup your script to grab the latest copy of the product you wish to install using the invoke web request command or something similar, but I found from testing that this tended to take a while as some of the installers are quite big. For instance, Microsoft Teams sits at around 111 MB in size.
Below is a copy of one of my Sandbox configurations. The Sandbox is set with a username WDAGUtilityAccount, so no need to change that. You will have to adapt the host folder path to match what you would like to map to your environment.
<Configuration>
	<VGpu>Disable</VGpu>
	<Networking>Enable</Networking>
	<MappedFolders>
	  <MappedFolder>
		<HostFolder>C:\Users\timmc\Documents\Sanboxes\Apps</HostFolder>
		<ReadOnly>true</ReadOnly>
		<SandboxFolder>C:\Users\WDAGUtilityAccount\Desktop\Apps</SandboxFolder>
	  </MappedFolder>
	  <MappedFolder>
		<HostFolder>C:\Users\timmc\Documents\Sanboxes\Blog</HostFolder>
		<ReadOnly>true</ReadOnly>
		<SandboxFolder>C:\Users\WDAGUtilityAccount\Desktop\Blog</SandboxFolder>
	  </MappedFolder>
	</MappedFolders>
	<LogonCommand>
	  <Command>C:\Windows\System32\WindowsPowerShell\v1.0\powershell.exe -sta -WindowStyle Hidden -noprofile -executionpolicy unrestricted -file "C:\Users\WDAGUtilityAccount\Desktop\Blog\Setup.ps1"</Command>
	</LogonCommand>
</Configuration>
For my PowerShell script, I use the following to silently install Firefox, Microsoft Teams, Visual Studio Code, and Notepad++.
C:\Users\WDAGUtilityAccount\Desktop\Apps\Firefox_Setup.exe -Args "/s" -Verb RunAs -Wait | Out-Null
C:\Users\WDAGUtilityAccount\Desktop\Apps\Teams_windows_x64.exe | Out-Null
C:\Users\WDAGUtilityAccount\Desktop\Apps\VSCodeSetup-x64.exe /VERYSILENT /MERGETASKS=!runcode | Out-Null
C:\Users\WDAGUtilityAccount\Desktop\Apps\notepad.exe /S /D=%ProgramFiles%\Notepad++\ | Out-Null
Where to next?
One area that I haven’t figured out yet is auto-logging into my accounts. So instead of logging into the M365 account, I have my script navigate to web address in a tab in the browser (note: this portion isn’t added to the sample script above). You can also launch the app after install via your script command. Another area I would like to figure out is auto-pinning my installed apps to the taskbar to provide ease of access to them.

Hope you enjoyed this blog. Let me know how you plan to setup your Sandbox configuration. If you have any questions throw them down below and I will do my best to answer them.
Until next time! ✌️