As you might know, SharePoint Designer can be quite clunky and cumbersome at times and a bit of a pain when trying to first figure out how to make a REST call. Below I’ve listed some steps that will help you make a REST call in your Designer workflow.
Note: Before we get started, this is written for SharePoint Designer 2013 and may differ slightly in 2010.
GET HTTP Service Call
Step 1 – Create your header
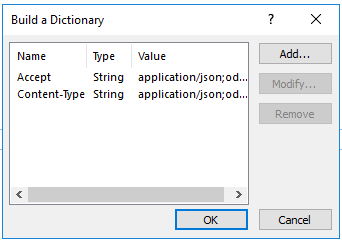
First thing you want to do is create the header for the HTTP call by creating a dictionary with the following dictionary items:
| Name | Type | Value |
| Accept | String | application/json;odata=verbose |
| Content-Type | String | application/json;odata=verbose |
Below is a screenshot of the dictionary action in SharePoint Designer.
Step 2 – Create a “Call HTTP Web Service” action
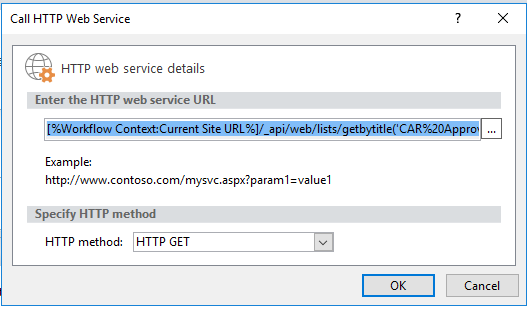
Next you want to add your HTTP action. Once added you are going to want to edit the first link in the action (titled: “this”).

When you click on “this” you will be presented with the main call dialog box, where you can enter your HTTP web service URL. Once you’ve entered the URL you also have the option to select the HTTP method you would like to use, which are:
- Get
- Put
- Post
- Delete
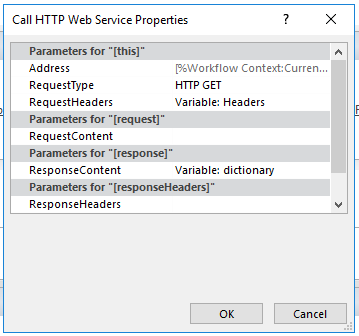
In this example, we will explore using the GET HTTP call. The next variable you are going to want to create is the response, which is of type dictionary. Make sure you click on the ResponseContent link the HTTP action and add the variable to it. You can also modify the variable for the ResponseStatusCode to rename it to something else, but by default a variable of type string will be created called “responseCode”. The final step you want to do is add the header dictionary to the call. To do this, hover over the HTTP call action and click the dropdown chevron icon on the far right of the action, then select “Properties…”. In the properties, add the Headers variable as the “RequestHeaders” value. Click OK.
Step 3 – Check response code and retrieve data
Once created, you are going to want to create an if condition to check that the response code of the call is “OK” and retrieve the data returned from your Get call. Below is a screenshot of those actions. Note that in my screenshot, the variable “CAR Approval Stages List” is of type dictionary, but this could be of type string depending on the results returned from you Get call.

Read more
If you are interested in reading on how to create a SharePoint GET call to a SharePoint list, read more here: Super Simple GET REST Call in SharePoint Designer and How to Retrieve its Data.