Introduction to Colourization
As someone who loves photography and its many forms of artistic expression, the idea of taking an old and even sometimes beaten up image and adding colour to it has always intrigued me. Not sure if you’ve ever viewed a colourized black and white image, but by taking an old black and white photo and adding a splash of colour to it seems to bring the people or objects in view back to life.
This is not a new idea, on the contrary, image colourization has been around almost as long as photography. The initial method of colourization could be time consuming, as you would have to hand paint the black and white images. Additionally, many older hand painted images tended to use one colour for each part of the picture such as only using one colour palette for the skin of an individual in the photograph. Although this method added some depth to the image at the time, it still didn’t come close to looking as lifelike like as modern-day digital colourization.
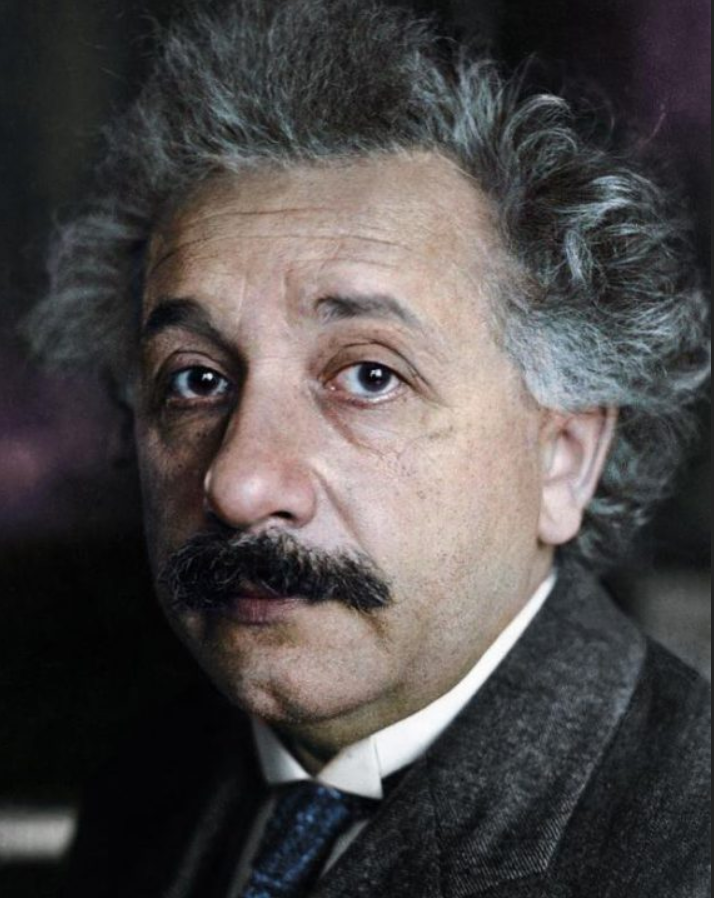
An artist who I feel does amazing work in the field of colourization is Marina Amaral, who I happen to avidly follow on Twitter. Below is a picture of hers that she did of Albert Einstein. She is a digital colourizer, using software such as Adobe Photoshop to colourize black and white images. Another advantage of digitally colourizing an image is you can make repairs by removing things like wear and tear in the paper, water marks, and any other defects that might have occurred over the lifetime of the photo. This allows colourizers to not only create beautiful pieces of historical art, but also become a type of historical restorer.
DeOldify
Being able to colourize old images like this portrait of Einstein makes historical images seem more tangible and alive. It was this idea that got me thinking, I wonder if I could either find or build a deep learning tool set that would colourize and restore old black and white images. Luckily for me, Jason Antic did most (all) of the back breaking work of building a deep learning model built on top of a NoGAN, which is a new GAN type of training developed by Jason that aids in preventing some key issues that he had originally faced when developed DeOldify.
Side note: not only does DeOldify work on images, it can also be applied to videos.
As someone who hasn’t dabbled a lot with digital colourization (did a YouTube tutorial once) I don’t have a clear understanding of the amount of time required to restore and colourize an image. For the sake of this discussion I feel that we can deduce that the time spent on one image will take several hours to complete (depending on the image of course). Although in no way am I saying that we should discourage people from doing digital colourization, as I think its an amazing field, I do think from a historical standpoint if we want to try colourize as many black and white images or videos as possible, using an automated approach like DeOldify is probably our best bet.
Before I discuss my experience with DeOldify, I would like to point out that John Breslin, a professor at NUI Galway, created a project called Old Ireland in Colour, where is uses DeOldify to colourize old Irish photographs and shares them on the project’s Facebook and Twitter pages.
One great aspect of the DeOldify project is everything is pretty much ready to run; all you really need is a GPU (I’m using a MSI GeForce RTX 2060 6GB), Python 3 and all the reference libraries, the project files and you are ready to go. To start, I opened the ImageColorizer Jupyter notebook and for my first choice I decided to use the pretrained stable model which you will have to download separately in a link provided on the README on the DeOldify GitHub page.
My first attempt using the stable pretrained model was taking a black and white image of French soldiers in World War I previously colourized by Marina Amaral. My reason for choosing one of her images was to have some type of comparison of what we would like our output image to be. Below I’ve included the original black and white photo, Marina’s colourized image, and the stable model output image.

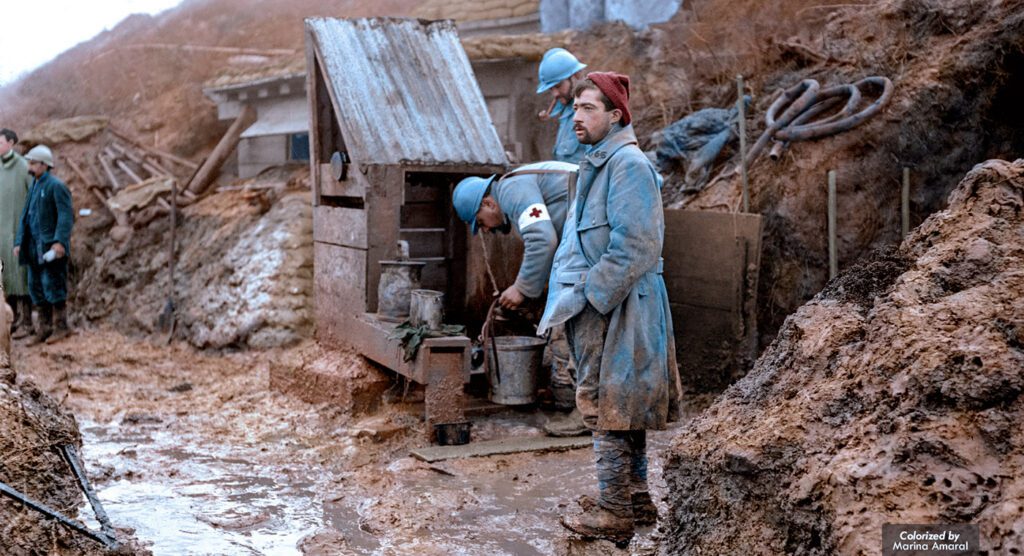
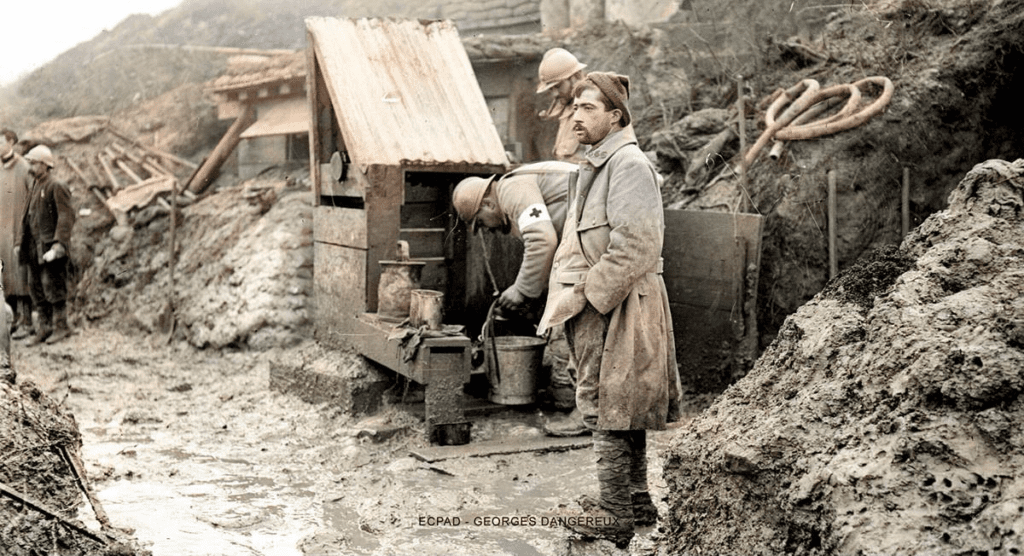
One of the first things you will notice when comparing the stable DeOldify output to that of Marina’s colourized image is the colour palette. The model was able to colourize the soldier’s uniform in blue slightly with a blue tinge at the top of the closets soldier’s uniform, but for some reason seems to colourize the mud in green. The model also creates a washed-out look, as the colours aren’t as vibrant as Marina’s image. The individuals on the left also haven’t really been colourized, other than the gentlemen on the right’s helmet, having an almost skin like complexion. I do think this image is a hard one for the model to work with and was probably unfair due to its detail complexity, but nonetheless still quite interesting to see how the model faired with Marina’s work. My next thought was to try the pretrain artistic model, which according to the DeOldify documentation is creating by repeating “pretraining the critic on generated images after the initial GAN training, then repeat the GAN training itself in the same fashion.” This creates a more colourful look to the image, as I’ve shown below in the output from the artistic model.
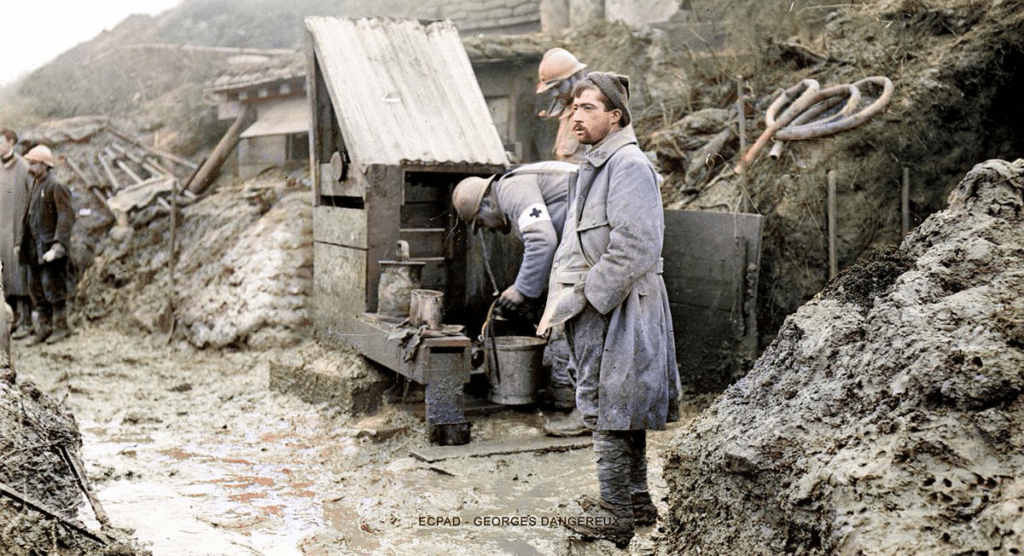
As you can see in the comparison, for the artistic model, the soldiers on the right uniforms are more blue than the stable model, however unfortunately some elements such as the soldier in the back-right have a blue face and some of the wood in view has also been painted blue.
I then decided to compare an image that is less detailed that Marina had done to the stable and artistic models. The results for the image of Jack Kerouac’s naval reserve enlistment mugshot taken in 1943, are shown below.

Original Marina Amaral
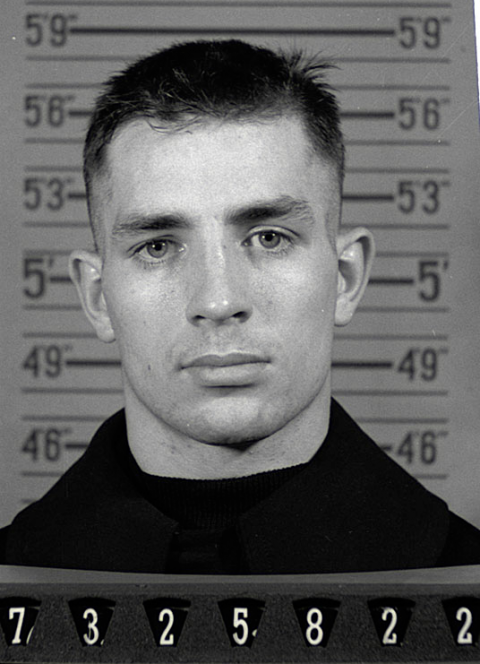
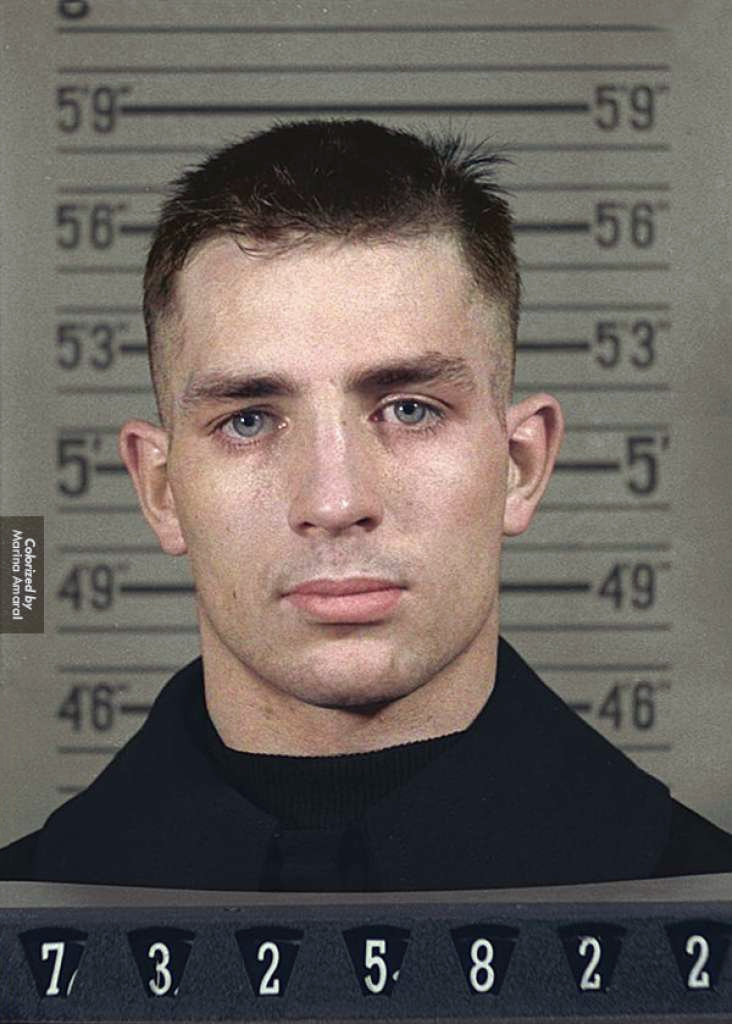
Stable Model Output Artistic Model Output
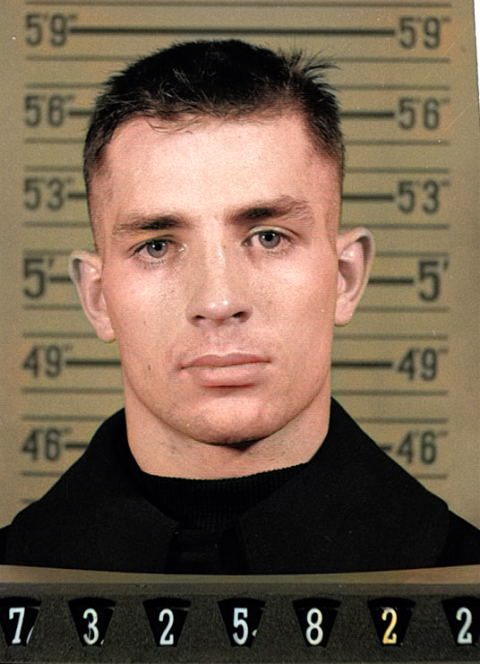
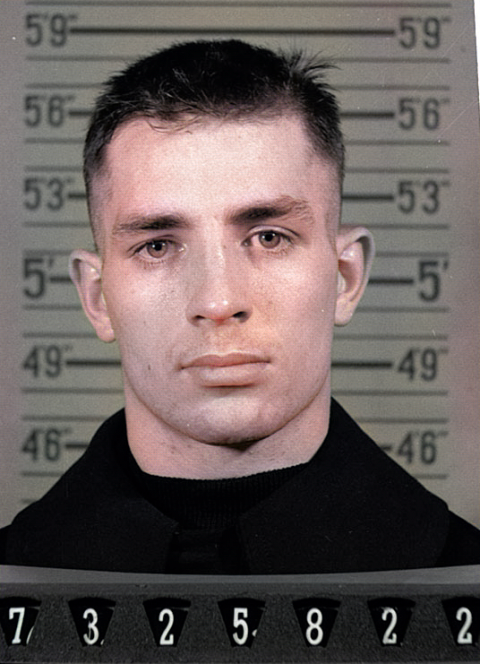
Interestingly the stable image appears to be more saturated for this test than the artistic version. I should add that for all tests I left my render factor as 35, which is the default and recommended value.
For further tests I plan to try train my own model. I’m not sure how my current GPU will fair in doing so as the DeOldify docs do note that training on a card that has less that 11GB might have issues due to the size of the generators and critic. Although not perfect just yet, I do feel that DeOldify is on track in the right direction and is a great tool to play around with for someone like me who is very new to the field. In the future I think that tools like DeOldify will allow archivers and amateurs alike to create beautiful colourized images and videos of the past.
Thanks for reading and please feel free to take a peek at the DeOldify project on GitHub.